How to Texture Drywall to Match an Existing Wall
Match orange peel, knockdown, or skip trowel texture on a drywall patch so the repair disappears into the wall. Step-by-step methods for each common texture.
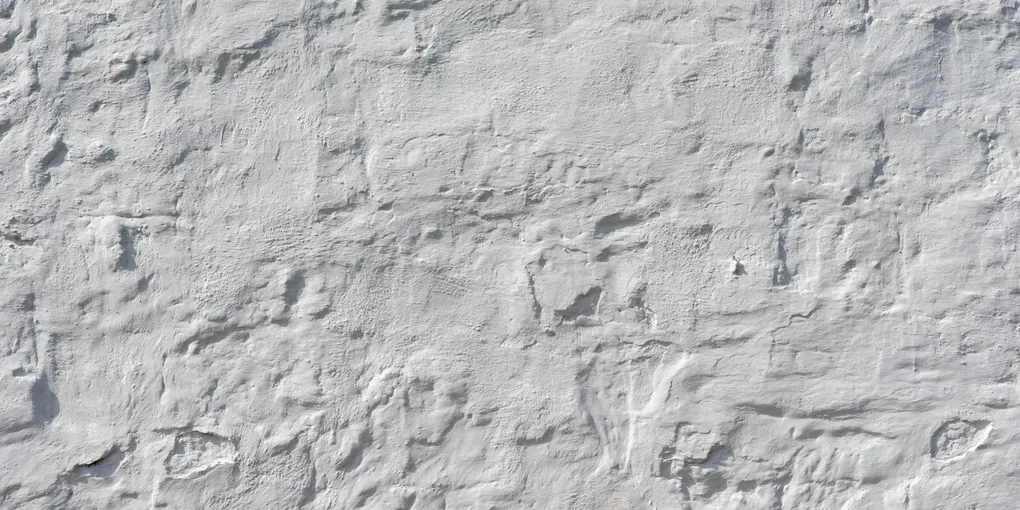
You patched a hole in drywall. The patch is smooth. The wall around it is not smooth — it has a pebbly orange peel texture, or a flat knockdown texture, or some specific spray pattern the original drywaller liked. Now your perfectly smooth patch stands out like a billboard.
Learning how to texture drywall to match an existing wall takes practice, but the techniques aren’t complicated. This guide covers the three textures you’ll find in 95% of American homes and the tools and tricks to match each one.
What You’ll Need
The tools depend on the texture — see each section — but in general:
- A spray texture can (Homax brand is widely available, about $10)
- Pre-mixed drywall texture mud or joint compound thinned to pancake-batter consistency
- A 6-inch and 10-inch drywall knife
- A texture sponge or rag (for skip trowel)
- A knockdown knife or flexible blade (for knockdown)
- Painter’s plastic or cardboard for spray practice
- Primer and matching paint
Step 1: Identify the Texture
Stand 3 feet from your wall and look at it in raking light (a flashlight held at an angle works). Most home walls fall into one of these categories:
- Smooth — flat. No texture at all. Patch with joint compound, sand smooth, paint. Easiest.
- Light orange peel — pebbled like an orange peel. Looks bumpy but feels almost smooth.
- Heavy orange peel — same look, larger bumps. More common on ceilings.
- Knockdown — splattered texture that’s been flattened. Looks like clouds or maps.
- Skip trowel — random splotches that look hand-applied. Most common in Southwestern homes.
- Popcorn — bumpy “cottage cheese” texture on ceilings. Mostly older homes.
Take a photo of your wall under good light. Bring the photo with you when buying texture supplies — store associates are generally happy to point you to the right product if they can see what you’re matching.
Step 2: Practice Before You Spray the Wall
This applies to all spray textures. Never practice on your actual wall. Always test on a piece of cardboard, scrap drywall, or painter’s plastic taped to a board.
- Tape up a piece of cardboard about 2×2 feet.
- Spray a section using the technique below.
- Compare it to your wall.
- Adjust spray distance, can pressure, or thinning before you commit to the real patch.
Most failed texture matches happen because someone went straight to the wall and got the spray pattern wrong on the first try.
Step 3: Match Orange Peel Texture
Orange peel is the most common texture on American walls. It’s sprayed from a can, hopper gun, or compressor.
For most homeowners, a spray can is the best tool. Hopper guns are expensive and need an air compressor.
Spray can method:
- Buy a “water-based” or “oil-based” orange peel texture spray. Brands include Homax, Easy Touch, and DAP. The can has an adjustable nozzle.
- Set the nozzle to the spray pattern that matches your wall (usually “fine” for light orange peel, “medium” for heavier).
- Hold the can 12–18 inches from the wall. Hold steady; don’t move closer or farther.
- Spray in short bursts in random directions. Don’t sweep — short, jerky bursts make the right pattern.
- Build coverage gradually. You can always add more; you can’t remove it without sanding off and starting over.
- Let it dry 1–2 hours (it gets darker as it dries).
- Prime and paint.
The key: don’t oversaturate. Less is almost always more.
Step 4: Match Knockdown Texture
Knockdown is orange peel that’s been partially flattened with a knife or roller after spraying.
- Spray the patch with orange peel texture, slightly heavier than you would for a matching orange peel finish.
- Wait 10 minutes. The texture should be set but still soft to the touch. Test by lightly pressing a finger — it shouldn’t fully indent.
- Use a knockdown knife (a wide, very flexible blade about 18–24 inches across) and lightly drag it across the texture. Don’t press hard. You’re flattening the peaks, not removing material.
- Wipe the knockdown knife clean between passes.
- The result should be a mostly flat texture with subtle islands of texture remaining.
Timing matters. Too early and you smear it; too late and the texture is too hard to flatten. Test on cardboard first.
Step 5: Match Skip Trowel Texture
Skip trowel is a hand-applied texture. You apply joint compound with a trowel or knife and let it dry in random splotches.
- Thin joint compound to a thick pancake-batter consistency.
- Load a small amount onto your putty knife.
- Press the knife flat against the wall and slide it in random directions, applying inconsistent pressure.
- The mud should leave behind random splotches with smooth and rough areas.
- Look at the surrounding wall and try to replicate the size and density of splotches.
Skip trowel is the hardest to match because it’s hand-done — every original wall is unique. Practice on cardboard with a photo of your wall in front of you.
Step 6: Match Popcorn (Ceilings Only)
Popcorn texture (also called acoustic or cottage cheese) is sprayed on with a hopper gun and a specific popcorn texture mix.
Important: many older popcorn ceilings (pre-1980s) contain asbestos. Don’t disturb popcorn ceilings without testing them first. A home testing kit is $15. If positive, hire a professional remediation team.
If your popcorn is confirmed safe:
- Buy popcorn texture mix in a can (Homax makes it).
- Mask off everything below — drop cloths, plastic on light fixtures.
- Spray from 12 inches away in short bursts.
- The bumps should match the surrounding ceiling in size.
- Let dry overnight before painting.
Step 7: Prime and Paint
After any texture is applied and fully dry:
- Prime the patched area, slightly past where the texture extends. Drywall mud absorbs paint differently than the rest of your wall.
- Paint the patch with the matching wall color.
- For an invisible repair, paint the whole wall corner-to-corner. Spot repaints always show under raking light.
Common Mistakes to Avoid
Skipping the practice spray. This is the single biggest difference between an invisible patch and an obvious one. Two minutes of cardboard practice saves an hour of redo work.
Spraying too close. Close = heavy globs that look nothing like the wall. Stay at 12–18 inches and build up gradually.
Knockdown too early or too late. 10 minutes is the rough rule. Adjust based on humidity. Cool, humid rooms take longer.
Trying to match texture without good lighting. Set up a bright work light. You need to see what you’re matching.
Forgetting to prime. Texture material is even more porous than smooth joint compound. Unprimed texture shows through paint as obvious patches.
Frequently Asked Questions
Can I roll on orange peel texture instead of spraying? You can use a textured roller, but it doesn’t really look like orange peel — it has a more uniform pattern. For matching existing orange peel, the spray is the right tool.
What if my walls are textured but really old and faded? Old textured walls collect dust and lose some of their relief over time. Your patch will look slightly fresher than the surrounding wall. Painting the whole wall after the repair helps blend.
The texture in my can looks different than my wall. Different brands of texture differ subtly. If one brand doesn’t match, try another. Buy a couple of cans of different types if you’re not sure.
Can I do this without primer first? You can, but the patch will be visible through the paint. The two minutes of priming saves you redoing the paint job.
How long does textured paint take to dry? 1–2 hours for spray texture to be touch-dry. 24 hours for full cure before painting.
The Texture Match Disappears Into the Wall
When matched correctly, a textured patch is invisible. The trick is identifying the right type, practicing the technique on cardboard, and not overdoing the application. Don’t expect perfection on your first try — practice twice, spray once, and you’ll never know the patch was there.